
Rental Kitchen Makeover
Our 1930s rental home has some pretty adorable details like arched cased openings and an original speakeasy door viewer.But what was not cute was the kitchen. To be fair, its evident that the cabinets were painted white fairly recently. But the countertops, backsplash and lighting was pretty tragic.


So I knew I needed to get to work to make it feel more authentic to us. (Let me start off by saying that our landlord welcomes changes and is happy with what we have done)
Here is our punch list:
Black walls
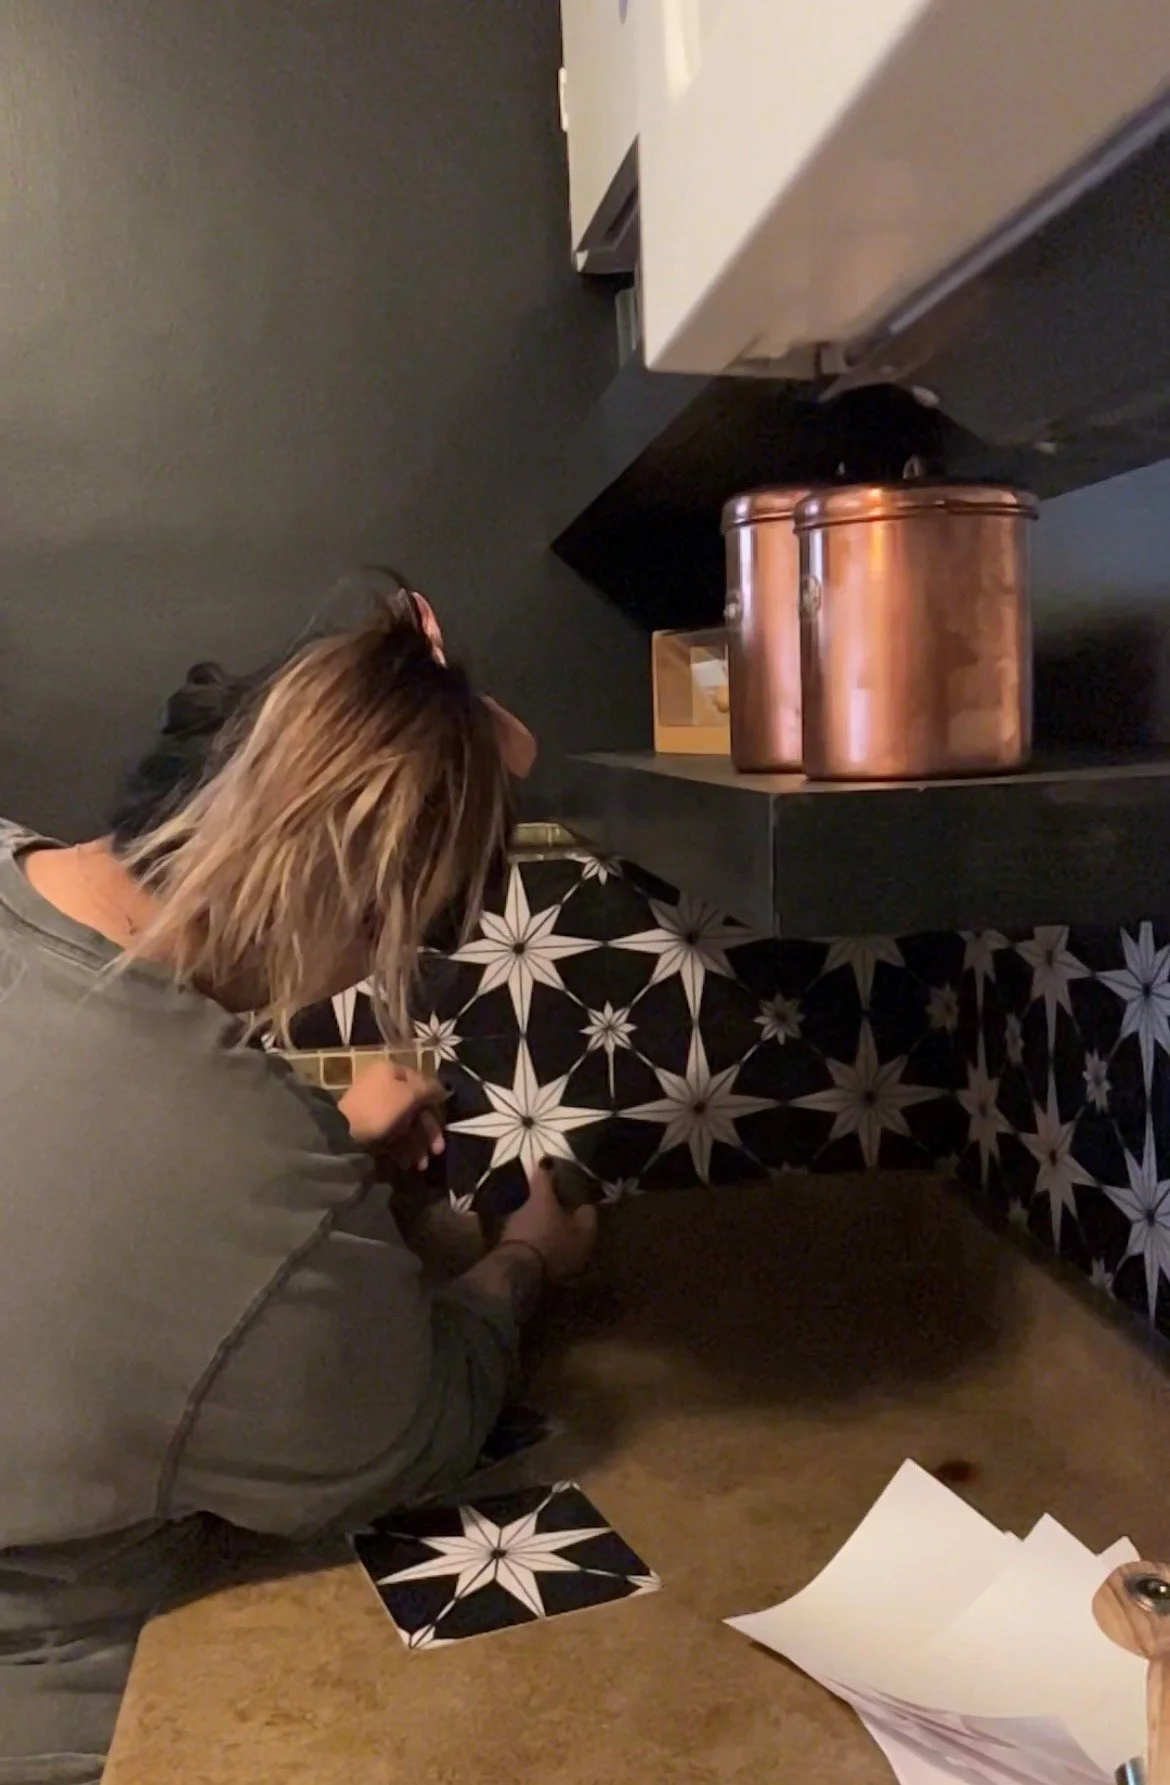
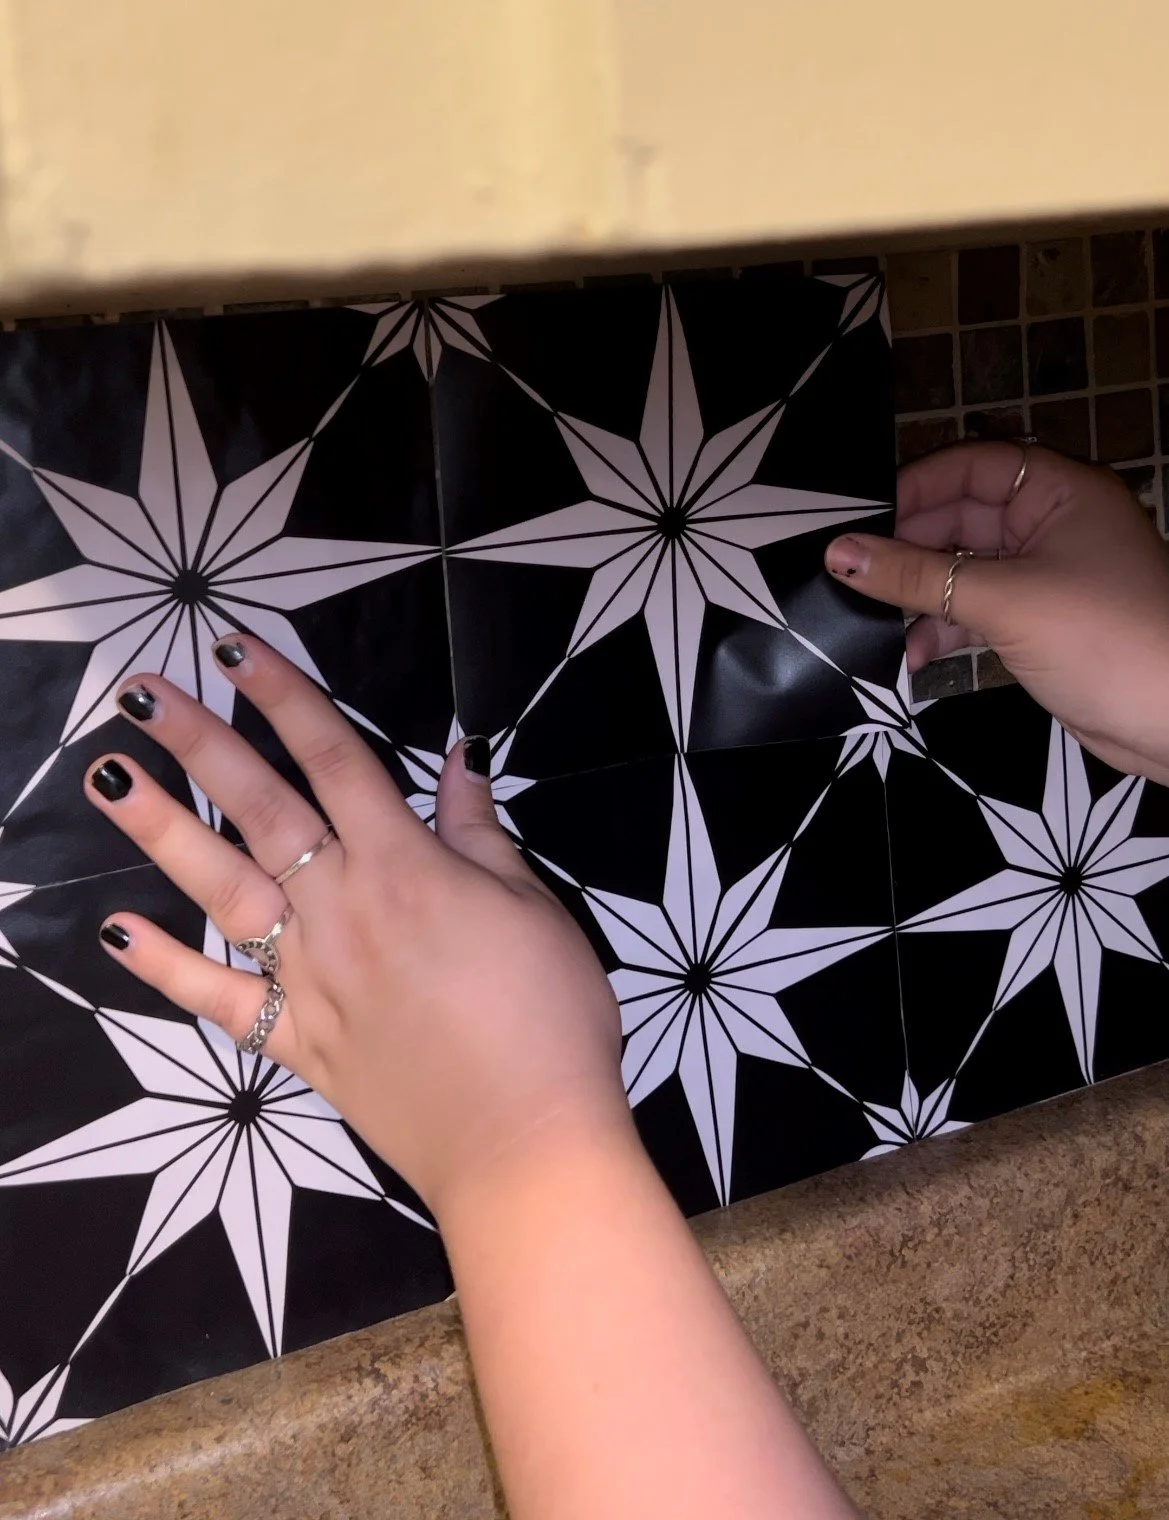
Retro peel and stick backsplash
Dedicated space to hang our vintage copper pots
Floating shelves for a coffee/tea nook
Retro lighting
New window treatments
Paint was up first! And it was a no brainer for us. BLACK! I used Behr Scuff Defense in a satin finish in the color Limousine Leather.

Next up, floating shelves. This was my first time building floating shelves and it was pretty easy. I followed this tutorial from Shanty2Chic and just adjusted them to my desired length and depth. I personalized them to our kitchen by staining them black with Varathane Ebony Wood Stain and sealing them up with 3 coats of Varathane Water Based Polyurethane in a Satin Finish.


The star of the show! These peel and stick tiles. Gosh, it took some time to find some retro style tiles that also didn’t break the bank. These were just that. They were super easy to install and easy to cut down, if needed. They’ve been up for 4 months so far and they’ve held up great! No budging or lifting and easy to clean.
Now that the DIYs are finished, it’s time to move onto the decor and finishing touches. You can shop everything from this kitchen renovation here.


Budget Breakdown:
Paint - $44
Wood for floating shelves - $0 (I used scraps I already had on hand)
Peel & stick tiles - $105
Cabinet knobs - $27
Curtains x2 - $90
Pipe Rod (to hold pans) - $27
Sconce - $45
Light Fixtures x2 - $80
Total : $418